
I Built an Actual AI From Scratch Using a Potato PC 🍃🤖
Yes, this is a real AI. Not a script. Not a trick. An actual image detection model. In this project, I built a Leaf Detection AI that can identify different types of leaves like Oak, Maple, Ginkgo, Banyan, and Lemon — all using Google Colab.
And All the resources including the full folder you will get in the link below named as Resources
If your PC can barely open Chrome without lagging then this post is totally Ok For you, don’t worry. Mine can’t either. That’s exactly why this guide exists.
Step 1: Google Colab Setup (No Powerful PC Needed)
First, we move everything to Google Colab. This gives us free CPU/GPU power without killing our PC
But if you are rich unlike me then you can run same code on normal code editor, You just simply need to install all the libraries mentioned in the code.
If you want to run all in a simple click then press Run All or If you want to understand each code then run each cell seperately. I used comments in the code which will help you to catch it and If you get stuck feel free to contact me
Here, we install and run all the required libraries directly in Colab. Just click Run All and let Google handle the heavy work.
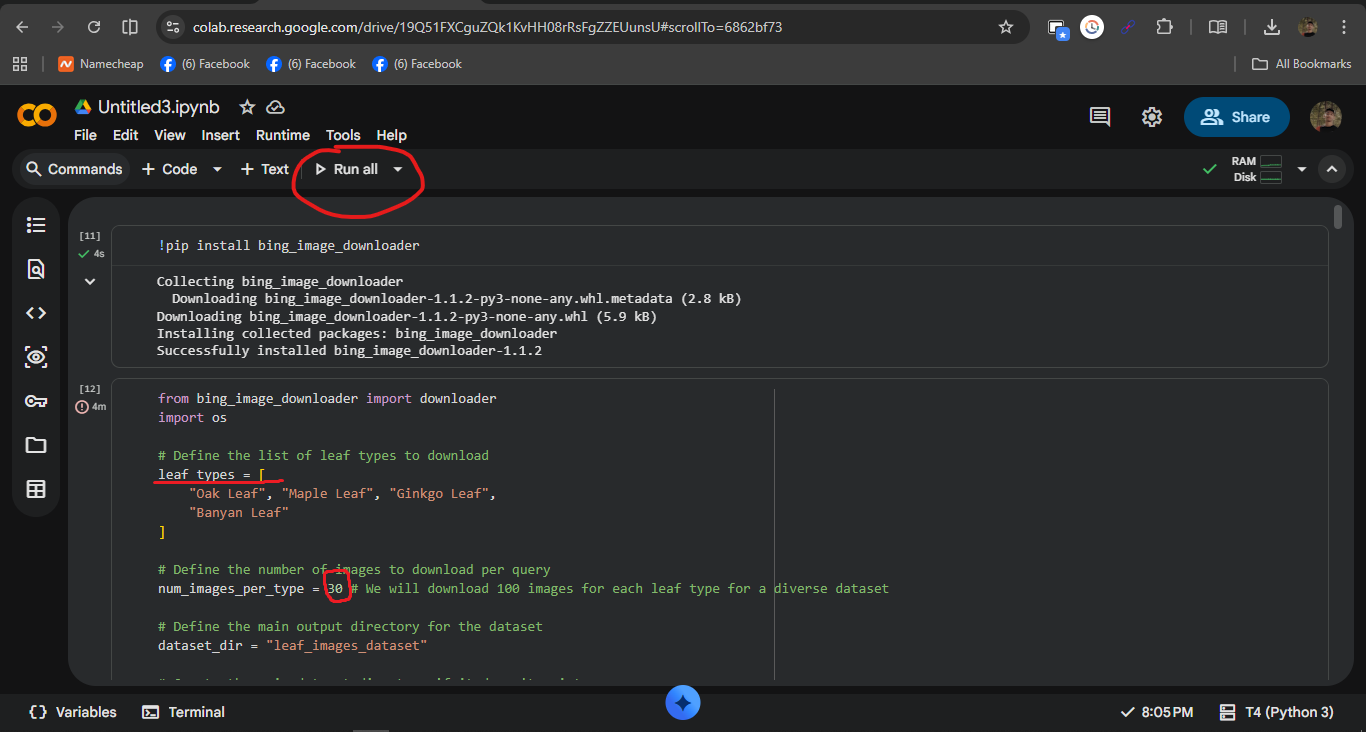
Step 2: Image Collection & Dataset Structure
To train our AI, we collected leaf images automatically using the bing-image-downloader library. Our goal was around 60 images per leaf type. Basically, we just give it a keyword (like the leaf name), and it goes online, searches Bing, and downloads a bunch of relevant images for us. No manual saving, no pain and the most boring part of this project is collecting data and now it will be done by automating it.
The most important thing which make an AI best is the data used to train it. So, If you want more accurate data then I would recommend using 100 image samples.
Here this line controls how many image to download for each leaf
num_images_per_type = 60 # We will download 60 images for each leaf type for a diverse dataset

After downloading, we verified the directory structure and checked for corrupted files. Everything was clean and ready for training.
Step 3: Image Preprocessing & Data Augmentation
Raw images aren’t AI-friendly. So we resized all images to 150×150, normalized pixel values, and applied data augmentation like rotation, zoom, shifts, and flips.
This helps the model generalize better, especially with a small dataset.
Step 4: Building & Training the CNN Model
We built a basic Convolutional Neural Network (CNN) using TensorFlow/Keras. A CNN is really good at working with images, so it made sense for this project. The convolution layers scan the leaf images and learn important visual patterns like edges, shapes, and textures. Pooling layers then reduce the image size, which helps the model focus on what matters and keeps training faster. Finally, dense layers at the end take everything the model learned and turn it into a final prediction for the leaf type.
We compiled the model using the Adam optimizer and the categorical crossentropy loss function, which are pretty standard choices for multi-class image classification. Adam helps the model learn efficiently by adjusting itself during training, while the loss function measures how wrong the predictions are. The model was then trained for 10 epochs, meaning it went through the dataset multiple times and gradually improved its accuracy with each pass.
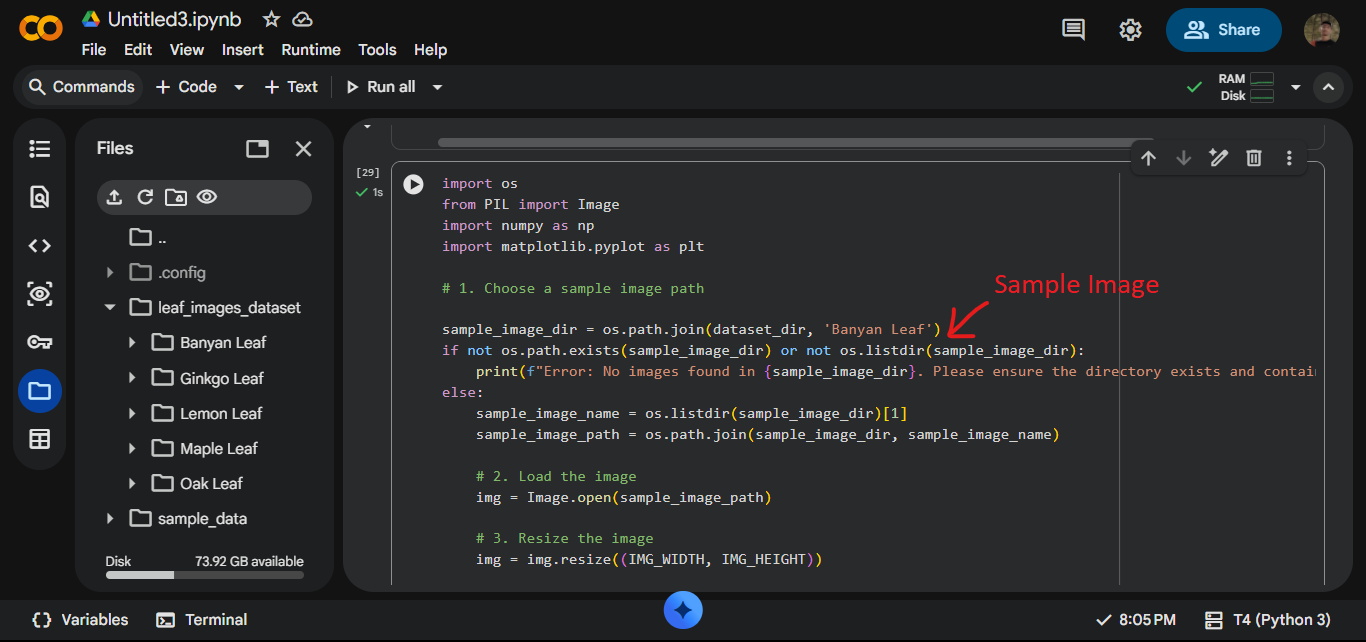
Step 5: Testing With a Sample Image
Finally, we tested the trained model using a sample leaf image. This is the moment of truth — where we find out if the AI actually learned anything or if it was just vibing during training. By giving the model a brand new image it has never seen before, we can see how well it generalizes and makes predictions in real-world scenarios.
This step is especially important when you’re making AI from scratch, because testing shows whether the whole pipeline — from data collection to model training — actually worked. If the prediction is correct, it means our AI successfully learned visual patterns from the leaf images and can now apply that knowledge to new inputs. If not, it tells us what needs improvement, like better data, more training time, or tweaks to the model architecture.
Overall, this project demonstrates the full process of AI making AI from scratch: collecting data, building a neural network, training it, and finally testing it in action. Instead of using a pre-trained solution, everything was built step by step, which helps in understanding how image-based AI systems actually work under the hood.
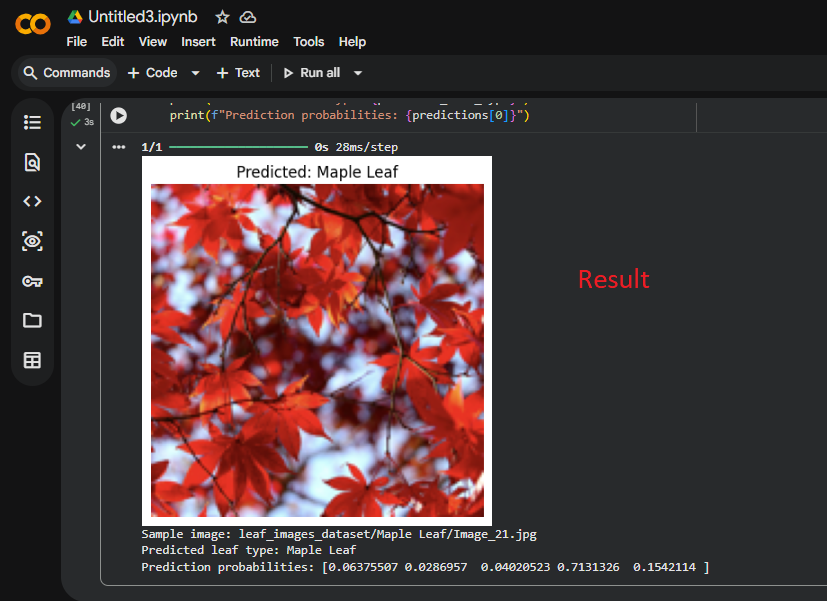
The model predicted an Oak leaf as Maple — which shows the AI works, but also that more data and tuning are needed. This is expected for a baseline model.
Final Verdict
You didn’t just write code — you built a real AI system. From data collection to prediction, this project proves that anyone can start AI development using Google Colab, even with a low-end PC.
Improve the dataset, train longer, or use transfer learning — and this leaf detection AI can become production-ready.